Traktor - Move loops by 1 beat
One of (mine) most used feature in Traktor Pro was “loop move” by one beat. Unfortunately with latest versions, especially with Traktor Kontrol X1 MkII, you can move loops only by the length of the loop itself. This is quite weird and I wanted my old functionality back!
The problem
Yes... it can happen (often for me) that you fire up a loop not on the first useful beat (maybe you were doing something else in that moment) but you needed to be aligned to the 8/16-beat circle. So the situation is described in the following pictures, you have this:
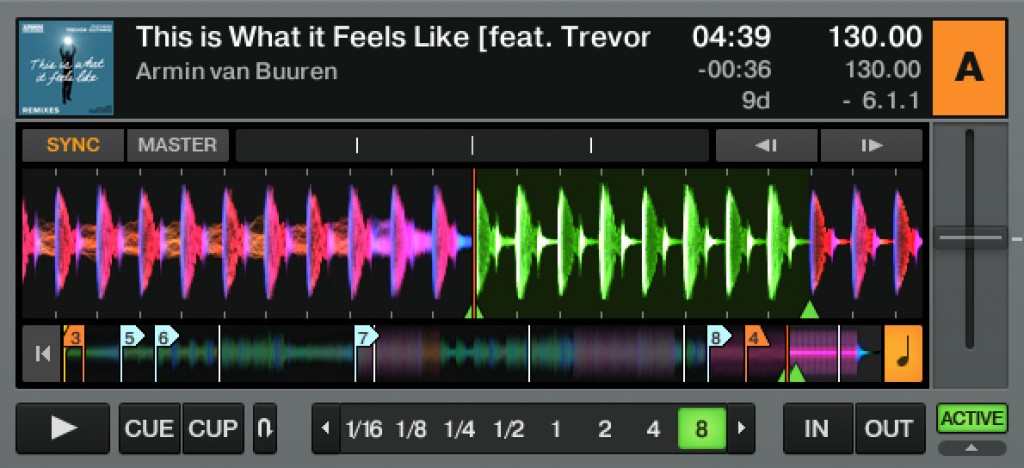
But you wanted this:

Quite simple problem! And extra simple answer with earlier version of Traktor... not so simple starting from version 2.6.2 and ahead.
Goal
In this example our goal is to map the keyboard key “Z” to move the loop back by 1 and the key “X” to move the loop forth. This is what we'll do, explained in words (this is actually what you do with your mouse):
- Set the “move mode” of the desired deck to “loop move”
- Set the length of the move to 1 beat
- Move the loop
In my case, all these actions should affect deck A, if you want different keys/jogs/knobs, destination deck, etc. you can customize it as you want! I used Traktor Pro 2 version 2.6.6 (R308) but I think that it is the same for 2.6.4+ versions.
The secret of Macros
All the magic resides in this word: macro! Yes because to achieve our goal the problem is that we need to map 3 different commands to a single key (in this case the “Z” key). So let's go! First step:
- Open preferences panel by clicking the jog icon in the upper left of the GUI.
- Select “Controller manager” from the list and then select a device from the pop-up menù (i.e. generic keyboard or your hardware controller). If you prefer you can create a new device by clicking “Add...” so you do not mess up the default mapping and be sure that “In-Port” list the word “Keyboard”. If you follow this tutorial - as it is - be sure that key “Z” is not mapped to other functions, in that case use another key... for example “=” that usually is not mapped.
- You should now have a new blank assignment table like this:

- Now click “Add In...” button and select Deck Common > Move > Mode Selector.
- Into “Device Mapping” section click “Learn” button and press the “Z” key on your keyboard. Deactivate the “Learn” mode by clicking that button again.
- Now in “Mappings Details” section set “Type of Controller” to “Button”, “Interaction Mode” to “Direct” and “Assignment” to “Deck A”.
- In “Buttons Options” section set “Set to Value” to “Loop”. You should have something like this:

Step 2 of 3:
- Again “Add In...” button and select Deck Common > Move > Size Selector.
- Click “Learn” and press the “Z” key on your keyboard then deactivate “Learn”.
- Set “Type of Controller” to “Button”, “Interaction Mode” to “Direct” and “Assignment” to “Deck A”.
- In “Buttons Options” section set “Set to Value” to “1”.
Step 3 of 3:
- Again “Add In...” button and select Deck Common > Move > Move.
- Click “Learn” and press the “Z” key on your keyboard then deactivate “Learn”.
- Set “Type of Controller” to “Button”, “Interaction Mode” to “Direct” and “Assignment” to “Deck A”.
- In “Buttons Options” section set “Set to Value” to “Back”.
This is all that is needed to go back... to go forth you have to replicate the process using the “X” key and on step 3 change the value to “Forward”. You should end up with something like this:

You can test it without closing the preferences window... just fire up a loop and press “Z” key! The same should be done for deck B. But now you should have figured out how to do it alone!
Tip: use “Duplicate” button to get a 1 to 1 copy of a mapping so you then need only to change the assigned key.